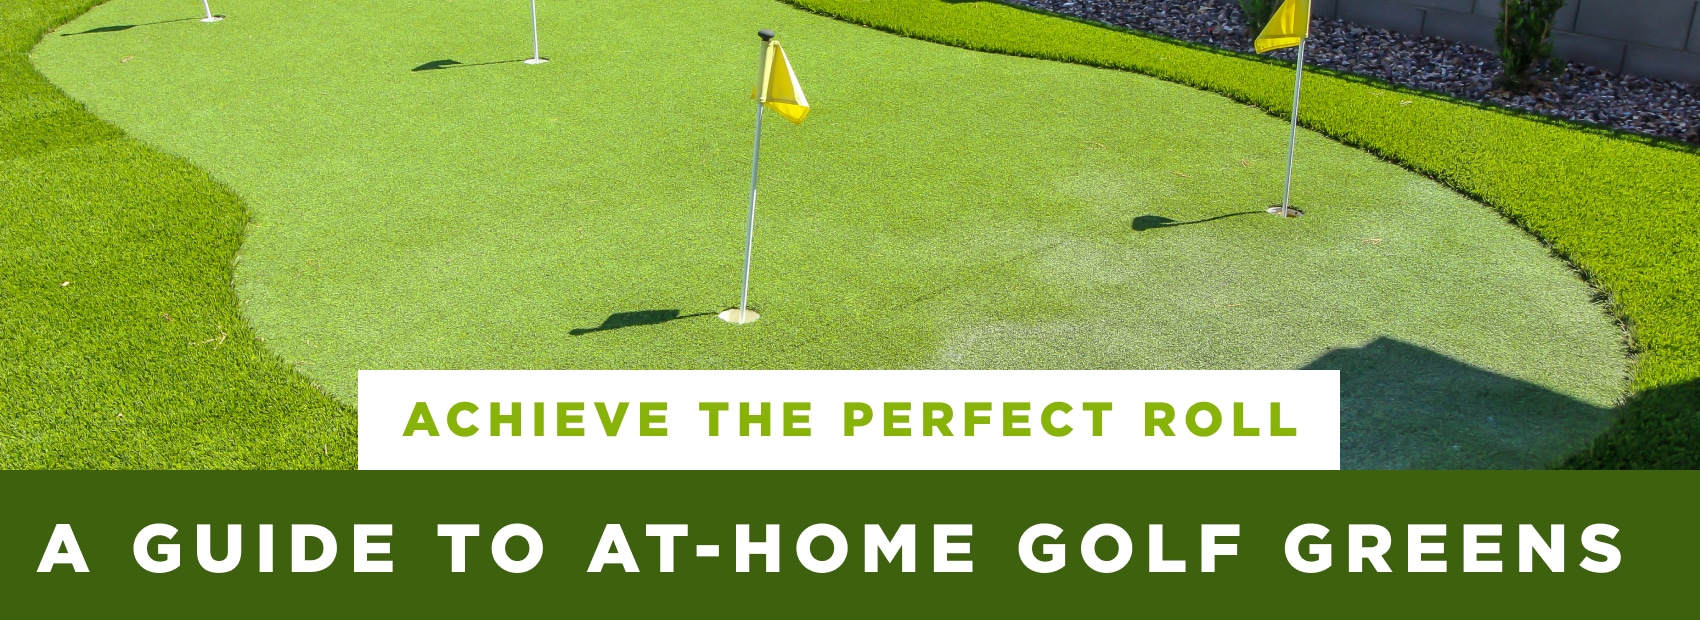
Imagine stepping into your backyard to your very own low-maintenance golf greens at home, crafted for consistent play and weekend practice. The right materials, drainage, and installation plan let you treat that space like a private short-game haven without endless upkeep.
Key Takeaways
- Surface choice and drainage design directly influence speed, roll, and durability on your golf greens at home.
- Layout, contouring, and landscape integration improve both practice value and property appearance.
- Quality materials and skilled installation keep upkeep minimal while creating realistic conditions for your mini golf & putting course turf.
Defining Your Putting Green Goals
Success starts by knowing exactly what you want the green to do for both your game and your outdoor life. When you plan around how and when you’ll actually practice—short daily sessions before work, weekend groups, or hosting friends—you’ll make choices that fit your routine and your property, maximizing the value of your golf greens at home.
Balancing Aesthetics With Playability For Home Practice
You want a surface that encourages practice without looking like an appliance in your yard. Pick colors, fringe styles, and transition widths that echo surrounding plantings and hardscapes so the green reads like an intentional feature rather than an afterthought.
On the play side, target reliable ball speed across the entire surface, multiple hole locations, and a handful of gentle slopes so you get useful variety without constant setup.
For product options that balance appearance and playability, review putting-grade mini golf & putting course turf options and their specs—pile height, fiber type, and face weight—to match the look you want.
Setting Realistic Expectations For Green Performance
A backyard green won’t perfectly mirror TOUR conditions, but you can get excellent practice value. Set practical metrics such as: consistent roll across the surface, minimal skid, and predictable response to slope.
Many golf greens at home aim for single-digit Stimpmeter numbers—high single digits give realistic feedback for distance control while keeping putts playable in varied outdoor conditions. The Stimpmeter is the standard tool for measuring green speed; learn the correct method to keep your readings useful.
Determining Skill Development Objectives
Decide which parts of your short game need the most work, then design for those drills. For distance control, install lanes 15–25 feet long with uniform speed.
For reading breaks, create several gentle camber zones and curved paths. If you want to practice pressure putting, place holes near edges and reduce target size. The more closely the green’s features map to the skills you train regularly, the more value it will return for the time you invest in your golf greens at home.
Considering How Your Green Will Complement Overall Landscape Design
Think like a landscape designer: view corridors from patios and windows, frame the green with low ornamental grasses, and add subtle lighting so evening practice feels inviting. Keep scale in mind—an oversized green in a small yard will feel heavy, while a tiny green in a large yard can seem tacked-on.
Include seating and a small prep area for clubs and tools so the green becomes a social feature as well as a training spot. Planning for maintenance access and discreet storage preserves curb appeal and keeps the green practical long-term.
Designing Your Home Putting Green
Great results come from detailed planning. Location, slope, and surface prep all influence how the green plays and how long it lasts. The more carefully these choices are made, the better the end result.
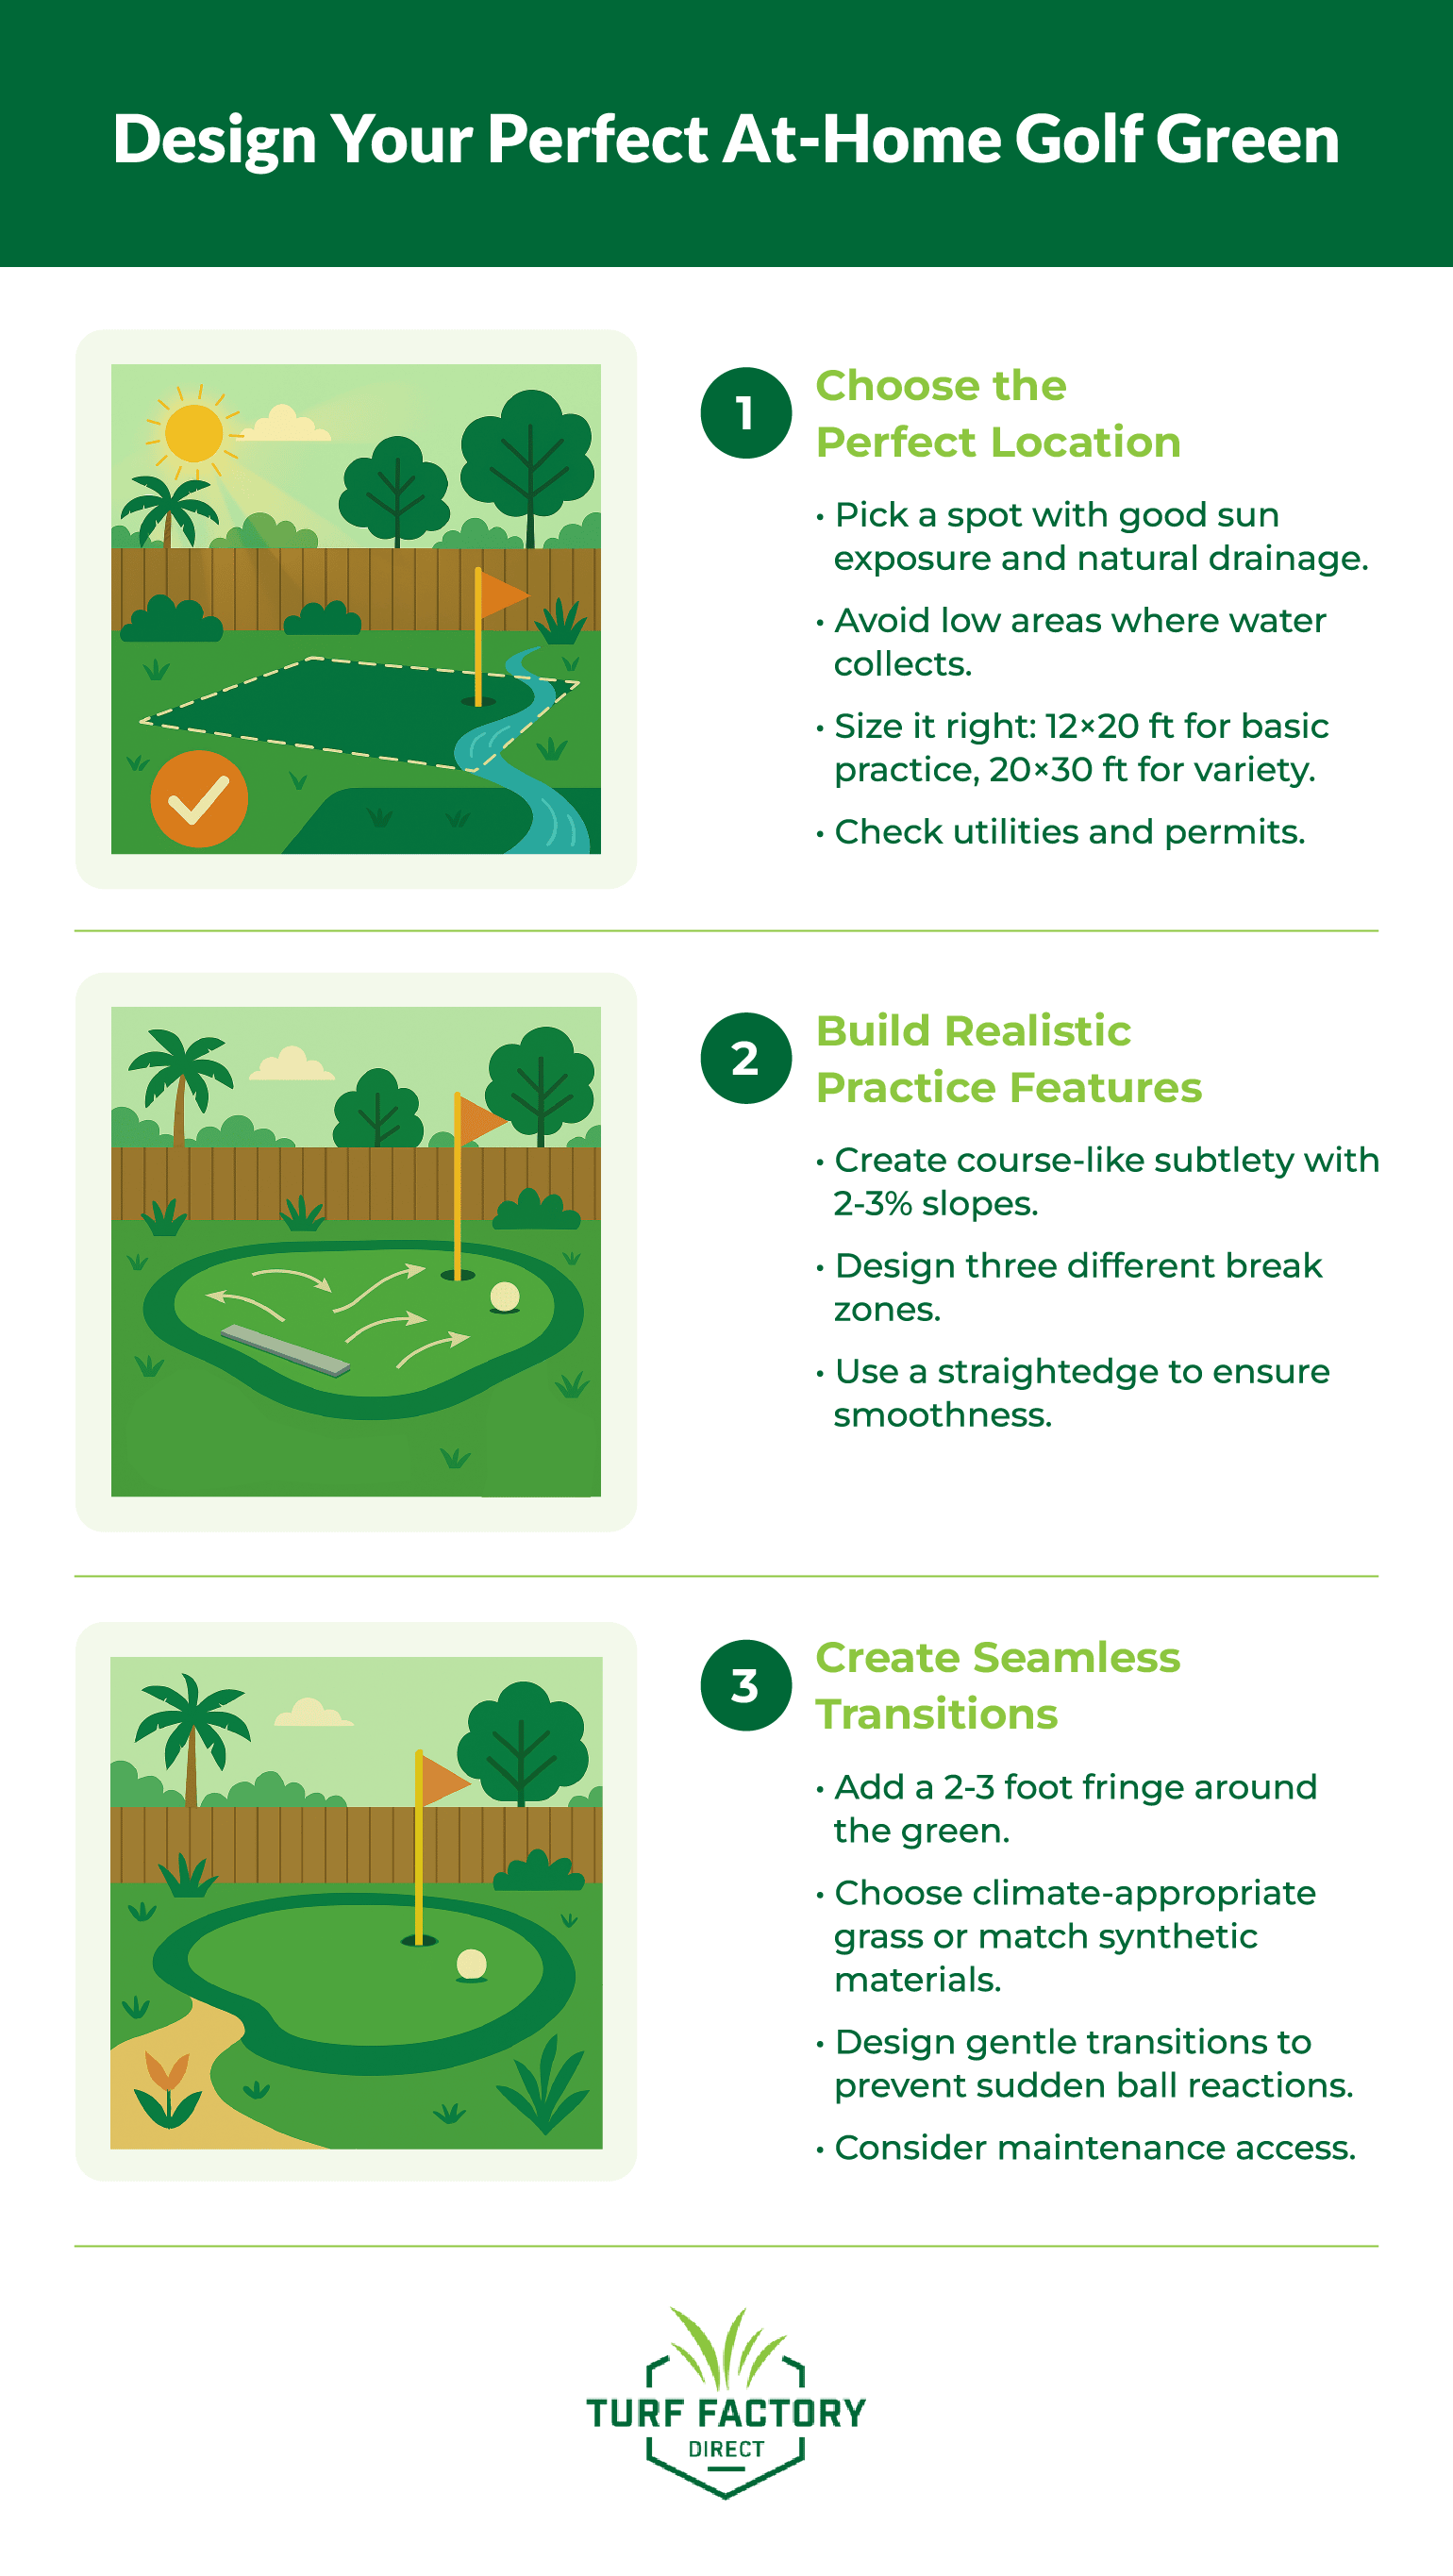
Site Selection And Planning
Pick a spot with good sun, natural slope for drainage, and sight lines from the house. Measure and sketch: a modest 12 × 20 foot green covers basic practice needs; 20 × 30 feet gives you multiple hole locations and speed variety. Avoid low spots where water collects—drainage changes everything for usability.
Run power for lights if you plan on evening sessions, and always locate underground utilities before you dig. If you’re unsure about local rules, check HOA requirements and local building authorities; major grade changes and electrical runs sometimes require permits. For installation best practices and a step-by-step approach to prep and base work, consult established DIY and professional guides.
Creating Realistic Contours And Breaks
Replicate course-like subtlety: keep most slopes in the 2-3% range for realistic rolling putts; steeper grades are useful for specialty shots but won’t mimic typical greens. Build at least three differing break zones—one mostly flat, one with gentle camber, and one with a small collecting hollow or ridge—to vary drills.
Use a straightedge and 4-foot board to verify smoothness; small surface irregularities produce outsized effects on line and pace. When working with synthetic mini golf & putting course turf, shape the subbase carefully so the finished surface is smooth to the eye and predictable to the roll.
Fringe And Transition Areas
The fringe ties your green into the lawn and can make a big difference in appearance and real-world shots. Aim for a 2–3 foot fringe with slightly longer pile or a dedicated fringe turf; wider fringes suit larger golf greens at home.
Choose grasses that make sense for your climate (Bermuda or zoysia in warm regions; fine fescues in cool ones) if you use natural grass fringes—otherwise, match the synthetic fringe product to the putting turf for a cohesive look. Design gentle transitions so balls don’t react suddenly when leaving the green and plan access routes for maintenance equipment.
Selecting The Optimal Putting Surface
The surface you choose determines how the green plays and how much upkeep it requires. The decision between natural grass and synthetic mini golf & putting course turf affects the cost to install a golf turf at home, as well as long-term performance, and appearance over time. Consider your cost to install a golf turf at home when making your selection.
Natural Vs. Synthetic Options
Natural grass gives the truest feel—bentgrass and certain fescues come closest to a traditional green—but you’ll trade authenticity for significant upkeep: mowing to 1/8″, daily watering in season, feeding, and pest control. Synthetic turf delivers consistent play, much lower maintenance, and longevity measured in decades with proper install and care.
Modern putting-grade synthetics vary by fiber material and face weight; premium nylon products provide durability and a truer roll, while other polymers can be softer or slower.
Synthetic Turf Selection Guide
When you compare putting turfs, focus on three things: fiber material, pile height/face weight, and drainage/perforation of the backing.
| Feature | Professional Grade | Standard Grade |
| Pile Height | 10–12mm | 8–10mm |
| Fiber Material | Nylon | Polypropylene |
| Stimp Speed | 10–12 feet | 8–10 feet |
| Warranty | 15+ years | 8–12 years |
You should also confirm the warranty period and whether the product is engineered specifically for golf applications—those options include golf-specific infill blends and topdressings that tune speed and feel for your golf greens at home.
Natural Grass Considerations
If you choose bentgrass, plan for high maintenance and a sand-based root zone with precise grading and subsurface drainage. In warm climates you’ll often use bermudagrass; it performs differently and requires different mowing regimes.
Expect weekly rolling, frequent mowing, and seasonal aeration. If resale or long-term maintenance is a concern, consider how much time and budget you can realistically allocate—USGA-backed construction recommendations outline how to build natural greens that drain and perform reliably if you go this route.
Installation And Maintenance
Performance starts with solid construction and continues with regular upkeep. A well-built base and a good care routine will keep the green playable for years.
Professional Vs. DIY Installation
Professionals bring experience with base compaction, drainage design, and finish grading; they typically provide warranties and handle tricky details like seam placement and precise cup installation.
DIY installs can save a lot on labor cost to install a golf turf at home, but demand attention to base prep and the right tools (plate compactor, turf cutter, seam glue, and more). If you go DIY, follow a detailed installation guide, especially if you want an accurate roll for your mini golf & putting course turf. Also, consider the cost to install a golf turf at home when budgeting, and be realistic about time and equipment. If you hire pros, confirm references and the drainage approach they’ll use.
Base Construction Fundamentals
The base is everything. A typical build for reliable drainage and stability includes removing topsoil, installing 3–4 inches of crushed stone, compacting to high density, adding 1–2 inches of concrete sand, and final fine grading before turf placement.
Perforated drainage pipes placed at proper slope and wrapped with aggregate keep water moving away from the surface. The USGA’s putting-green construction recommendations provide durable templates for subgrade, gravel layers, and pipe placement if you need a technical reference.
Ongoing Maintenance Practices
Even synthetic golf greens at home need regular attention. Short, frequent sessions of daily or weekly brushing (5–10 minutes) keep fibers upright and the surface uniform. Clear debris weekly, redistribute infill as needed, and power-wash lightly monthly if you notice buildup.
Seasonally inspect seams and replenish top dressing every 2–3 years or when speeds slow. Follow the synthetic turf maintenance guidelines from the manufacturer to protect warranties and keep your green predictable.
Measuring And Improving Performance
Use a Stimpmeter to quantify speed and a simple ball-roll test to compare zones on the green. Document readings after install and after seasonal changes to maintain consistent performance across your golf greens at home. For soft or low-speed spots, add infill and re-level; for hard or fast sections, loosen the base material and rework the grade if necessary.
Regular testing and small corrections maintain a consistent practice surface that tells you the truth about your stroke.
The Perfect Golfing Turf For You
Ready to turn that backyard into your personal short-game haven? Explore Turf Factory Direct’s putting turf specs, install guides, and putting kits to match your goals—request a detailed materials list, ask for product roll-speed data, or arrange a custom quote that maps exactly to your yard and practice plan. With the right planning, your golf greens at home will deliver realistic play, minimal maintenance, and long-term value.